BLE112でBLEアプリケーションの開発
はじめに
BLE112は、低消費電力のセンサー・周辺アクセサリー向けに開発されたBluetooth Smartモジュールです。Bluetooth通信、マイクロコントローラ、ソフトウェアスタック、GATTベースプロファイルがすべて統合されています。開発コストを抑えることができ、短期間で製品リリースすることが可能です。BLE112は、スタンドアローンでの動作に向けたスクリプト言語『BGScript』と外部コントロールに向けた『BGAPI』のアプリケーション開発プラットフォームが提供されています。
バージョン4.0 (Bluetooth Smart),GPIO,ADC,PWM,I2C,UART,SPIの機能を持っています。電源電圧:2.0V-3.6V、TX peak current:36mA、RX peak current:25mA、18.15*12.05*2.3mmのモジュールとなっています。
iBeaconとして使うことで、iPhoneやiOSデバイスにロケーションベースの情報やサービスを提供することができます。これによってアプリケーションに広告を通知したり、特定の領域への出入りを検出したりすることができます。今回のプロジェクトでは、出入りを検出できる機能を使ってタイムカードを作成しました。Bluetoothなので、タッチなどすることなく出社/退社/外出/復帰がスマートにできます。
Tutorial
ここではBLE112モジュールを使ってiBeaconを作る手順を紹介します。
必要なもの
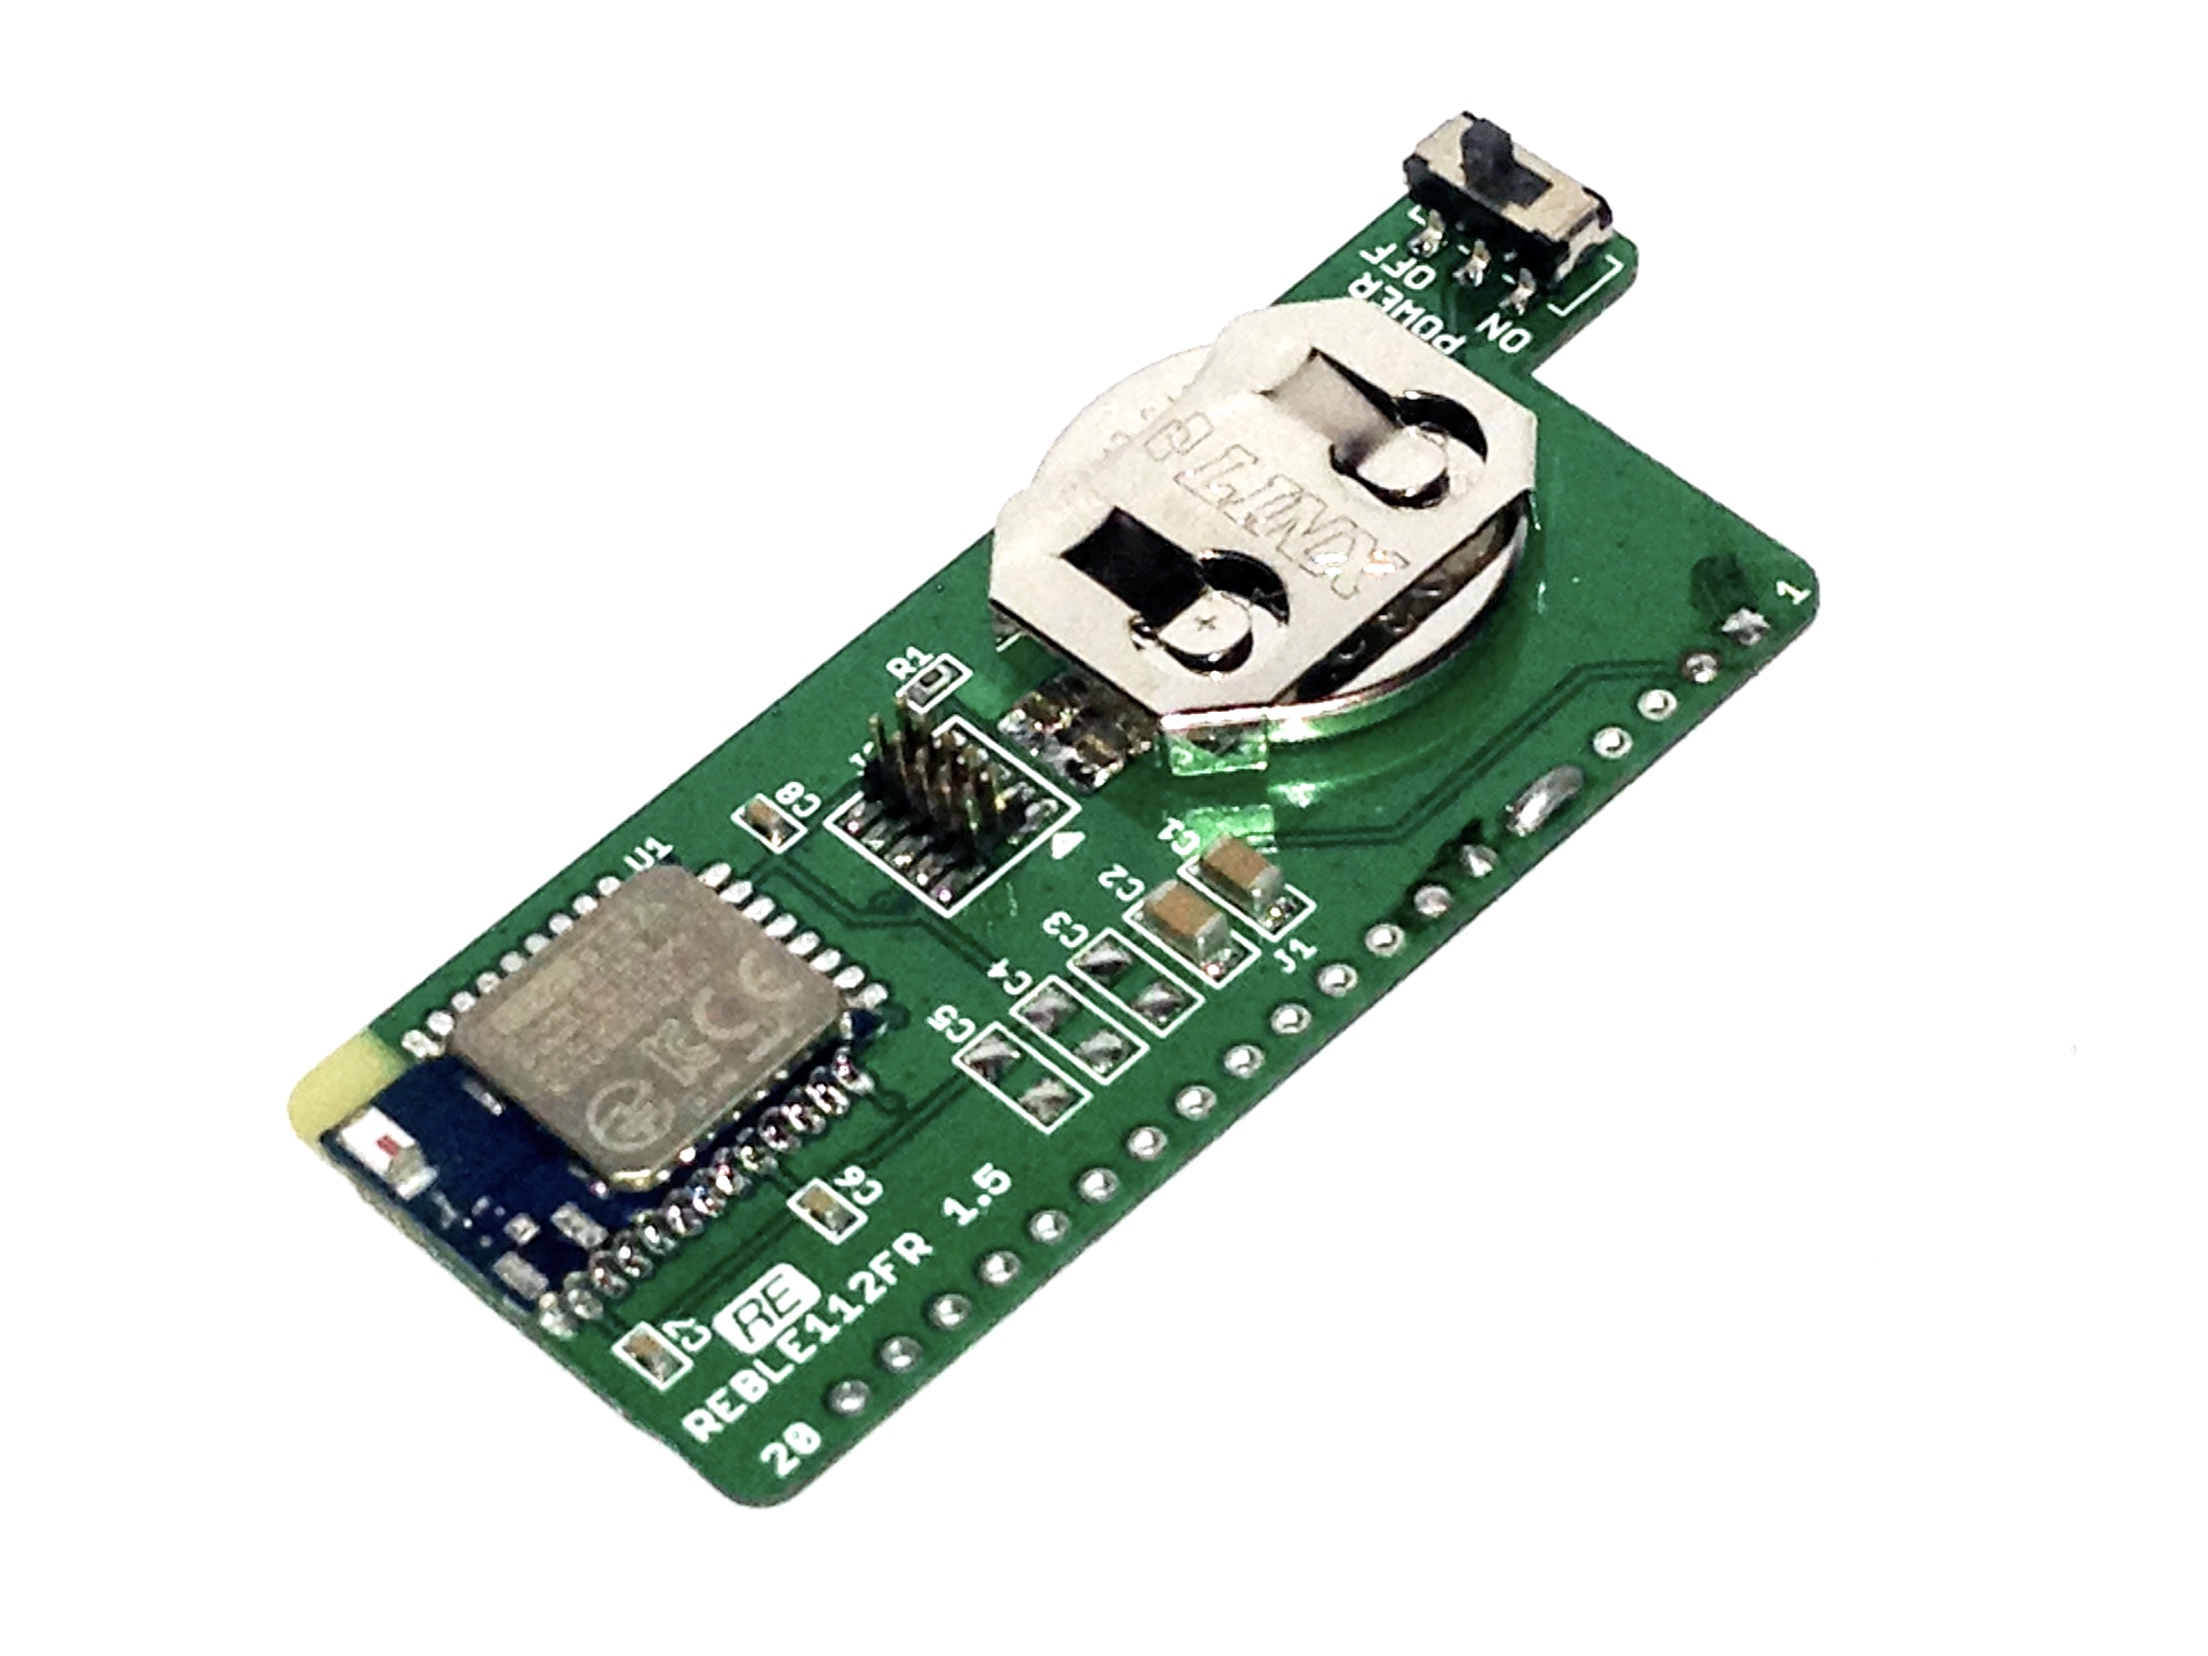
BLE112 Bluetooth Smart Module
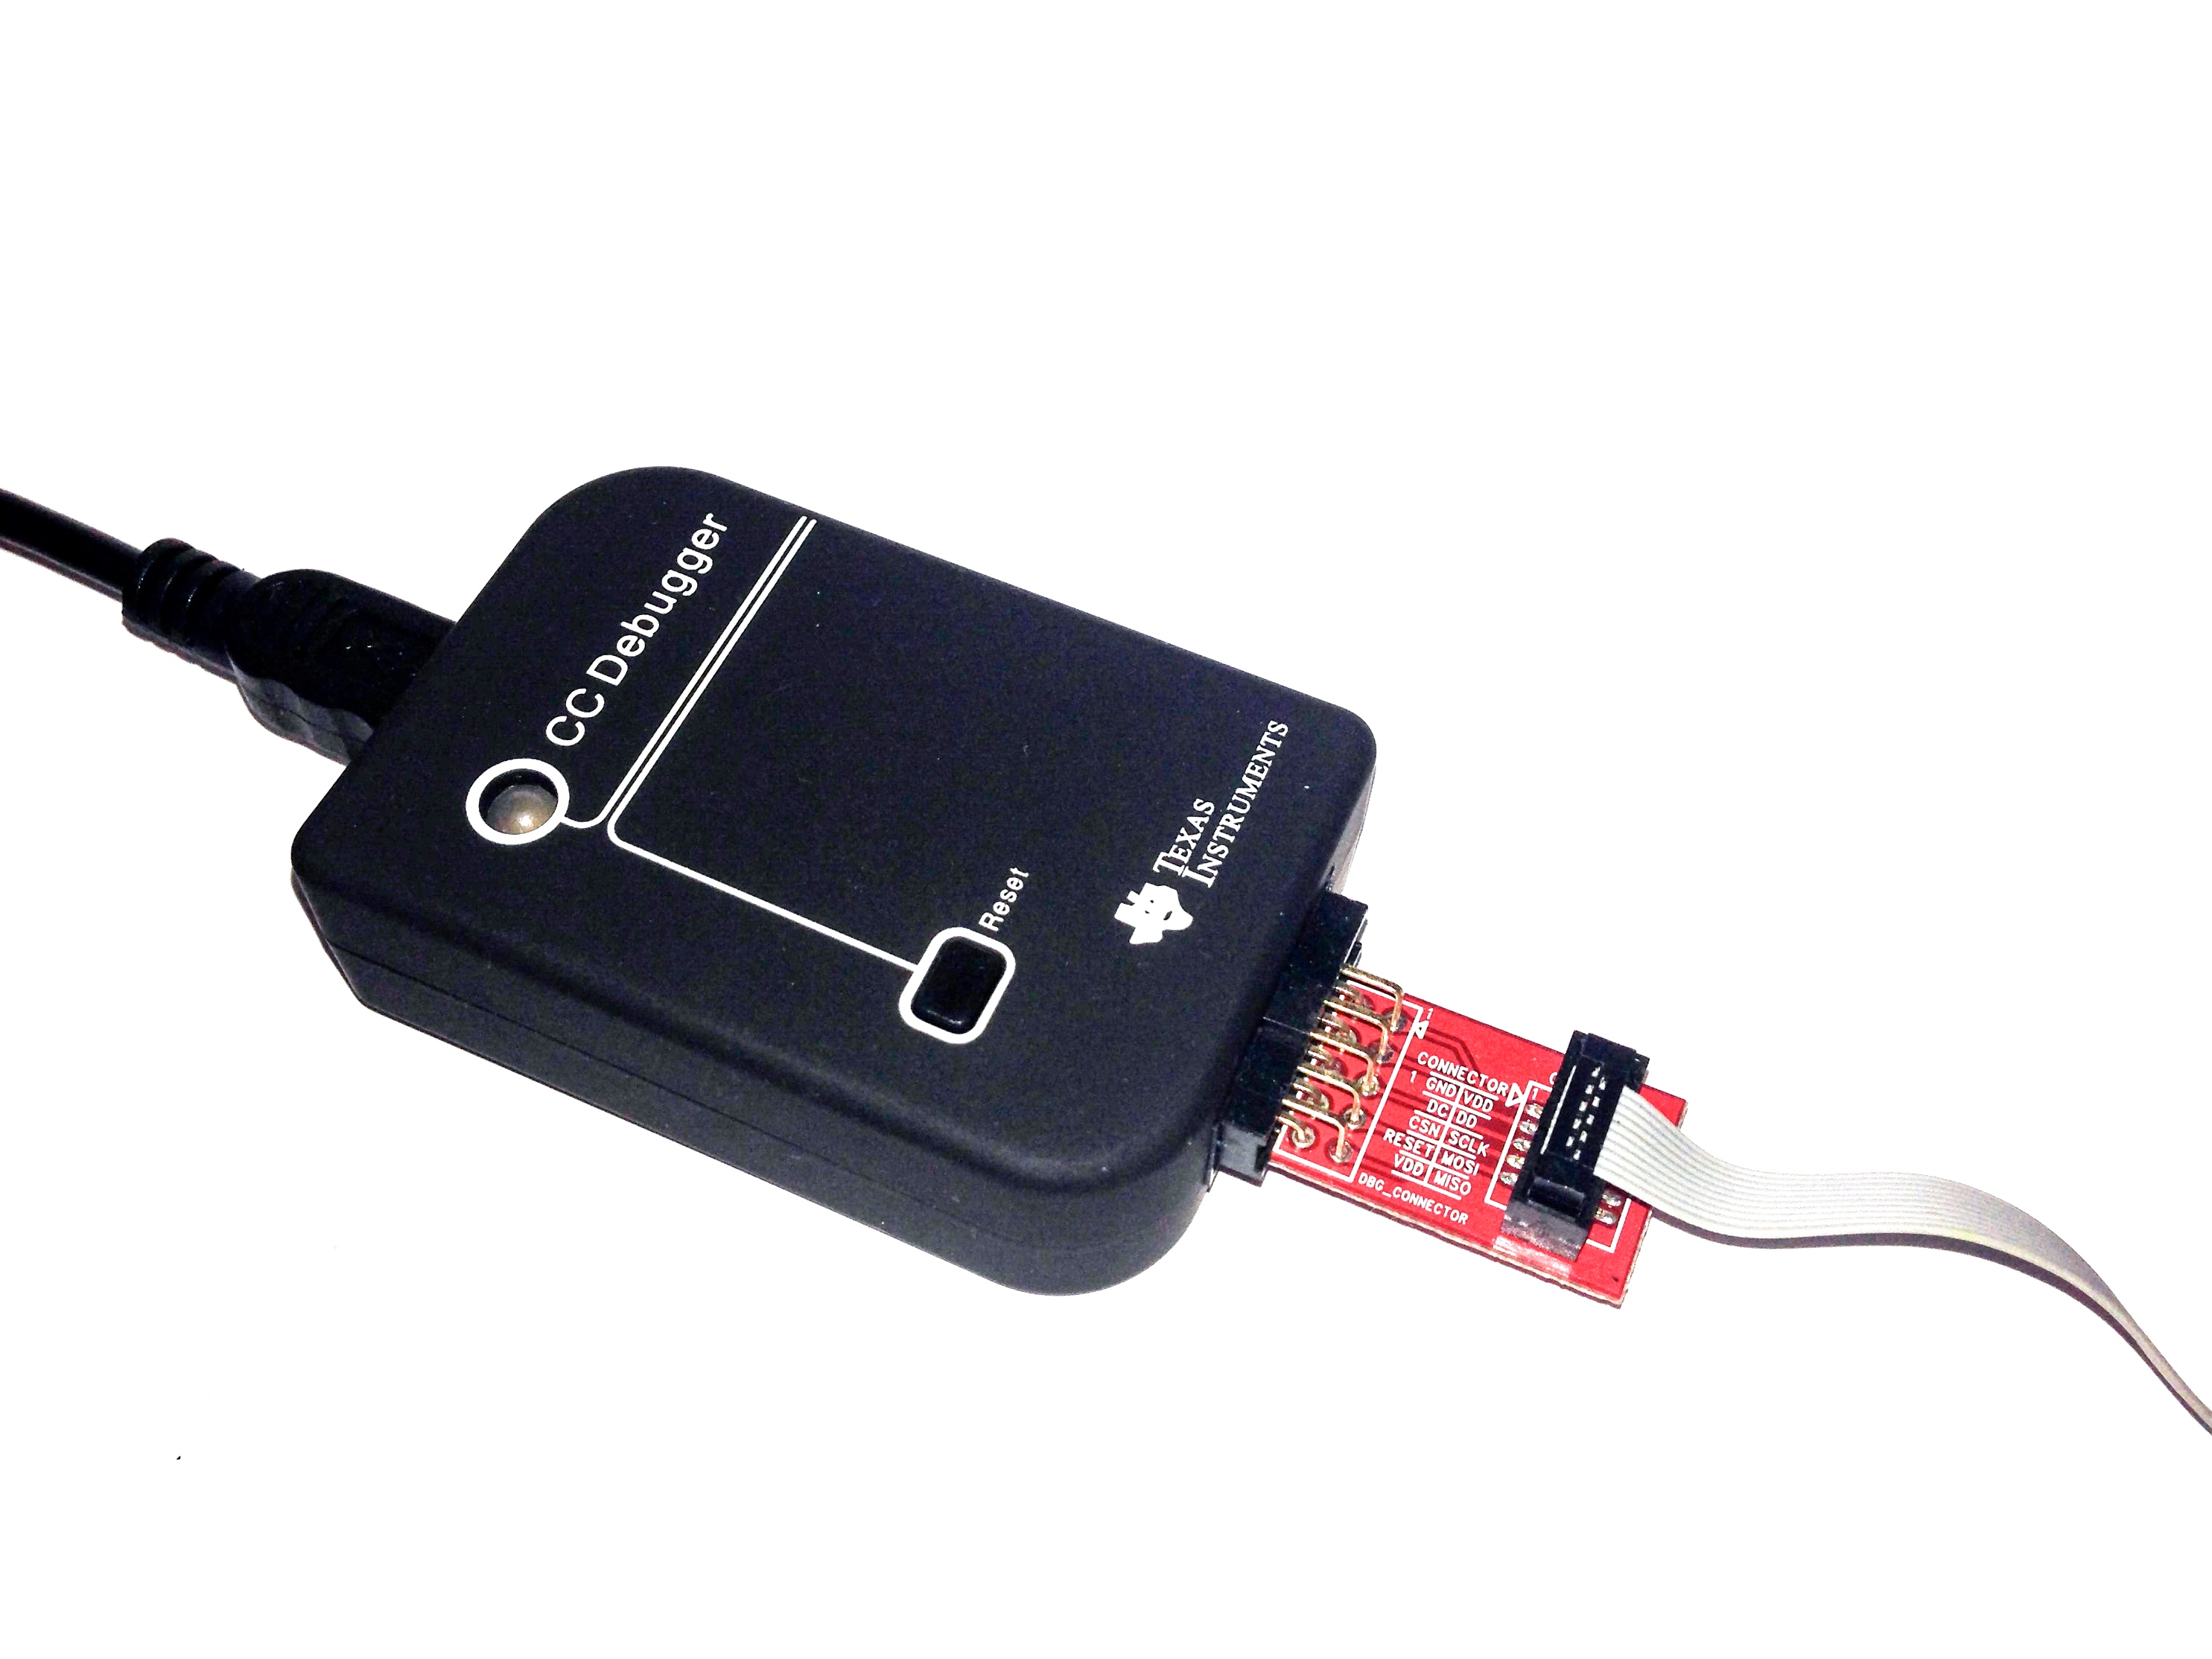
CC Debugger
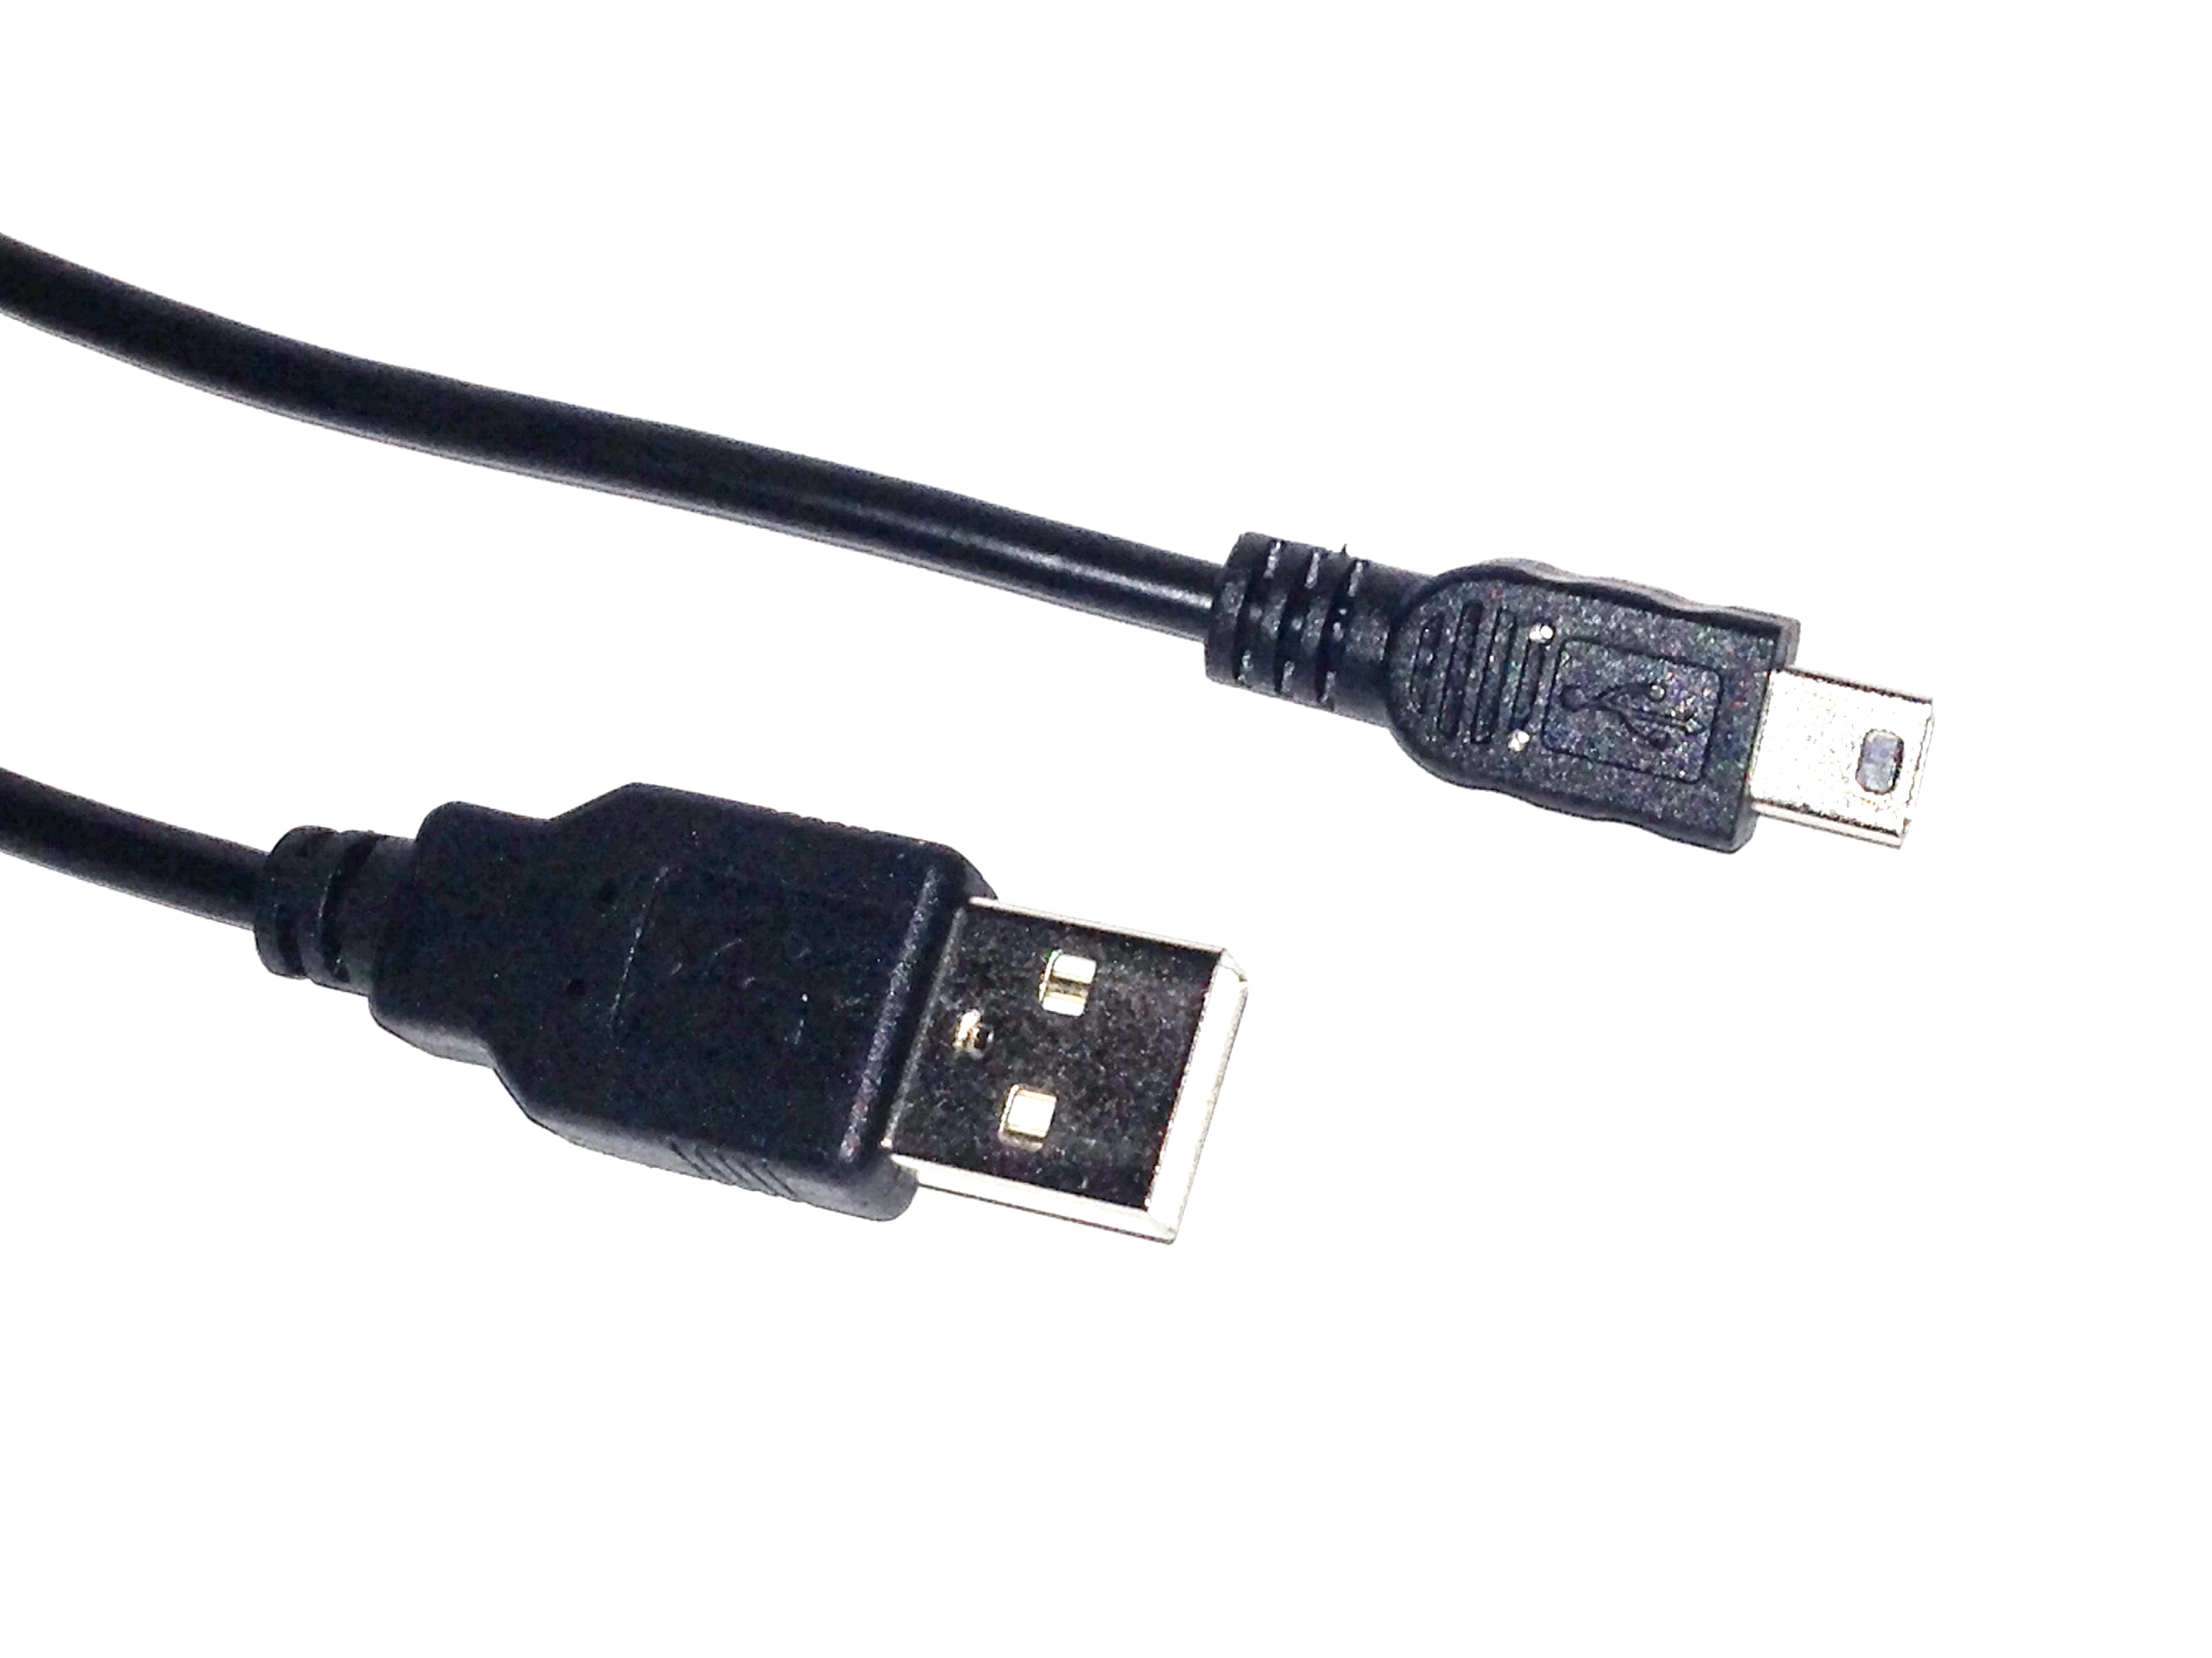
Mini USB cable
BLE112のプロジェクトステップは以下の通りです。
①project fileにプロジェクトリソースを定義
②Hardware configuration fileにハードウェア設定を定義
③GATT database fileにサービスを定義
④BGScript application source codeにアプリケーション機能を実装
⑤BGBuildでコンパイル
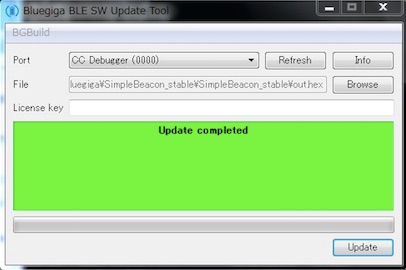
⑥BLE SW Update Toolでファームウェアを書き込む
・データフロー
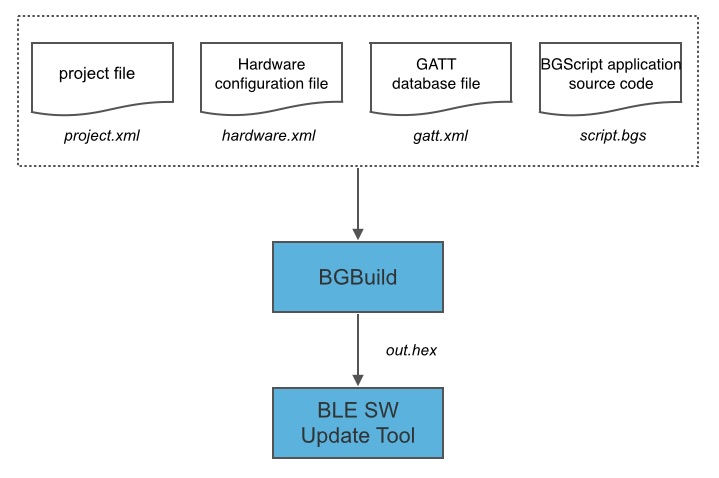
・project.xml
<?xml version="1.0" encoding="UTF-8"?>
<project>
        <!—- GATTデータベースファイル -->
        <gatt in="gatt.xml" />
        <!—- ハードウェア設定ファイル -->
        <hardware in="hardware.xml" />
        <!—- BGScriptコード -->
        <script in="script.bgs" />
        <!—- Firmware出力ファイル名 -->
        <image out="out.hex" />
        <!—- BLEモジュールタイプ -->
        <device type="ble112" />
        <!—- Firmwareアップデートインターフェイス -->
        <boot fw="bootuart" />
</project>
・hardware.xml
<?xml version="1.0" encoding="UTF-8" ?>
<hardware>
    <!—- スリープクロックを有効にする -->
    <sleeposc enable="true" ppm="30" />
    <!—- USBインターフェイスを無効にする -—>
    <usb enable="false" />
    <!—- 送信時のpowerを最大に設定 -—>
    <txpower power="15" bias="5" />
    <port index="0" tristatemask="0" pull="up" />
    <!—- BGスクリプトを有効にする -—>
    <script enable="true" />
</hardware>
・gatt.xml
<?xml version="1.0" encoding="UTF-8"?>
<configuration>
        <service uuid="1800">
                <description>Generic Access Profile</description>

                <characteristic uuid="2a00">
                        <properties read="true" const="true"/>
                        <value>iBeacon Demo</value>
                </characteristic>

                <characteristic uuid="2a01">
                        <properties read="true" const="true"/>
                        <value type="hex">0200</value>
                </characteristic>
        </service>
        <service uuid="180a">
                <description>Device Information</description>

                <characteristic uuid="2a29">
                        <properties read="true" const="true" />
                        <value>Bluegiga BLE112</value>
                </characteristic>

                <characteristic uuid="2a24">
                        <properties read="true" const="true" />
                        <value>112</value>
                </characteristic>

                <characteristic uuid="2a26">
                        <properties read="true" const="true" />
                        <value>1.2.1</value>
                </characteristic>

                <characteristic uuid="2a27">
                        <properties read="true" const="true" />
                        <value>1.0</value>
                </characteristic>
        </service>
</configuration>
・script.bgs
# ADVertizement data
dim advdata(30)

# system boot event listener
event system_boot(major, minor, patch, build, ll_version, protocol_version, hw)

# Set advertisement interval to 125ms.
# Use all three advertisement channels
call gap_set_adv_parameters(200, 200, 7)

# Initialize iBeacon ADV data
# Flags = LE General Discovery, single mode device (02 01 06)
advdata(0:1) = $02
advdata(1:1) = $01
advdata(2:1) = $06
# Manufacturer data
advdata(3:1) = $1a
advdata(4:1) = $ff
# Preamble
advdata(5:1) = $4c
advdata(6:1) = $00
advdata(7:1) = $02
advdata(8:1) = $15

# Apple AirLocate Service UUID: e2c56db5-dffb-48d2-b060-d0f5a71096e0
advdata(9:1) = $e2
advdata(10:1) = $c5
advdata(11:1) = $6d
advdata(12:1) = $b5
advdata(13:1) = $df
advdata(14:1) = $fb
advdata(15:1) = $48
advdata(16:1) = $d2
advdata(17:1) = $b0
advdata(18:1) = $60
advdata(19:1) = $d0
advdata(20:1) = $f5
advdata(21:1) = $a7
advdata(22:1) = $10
advdata(23:1) = $96
advdata(24:1) = $e0

# Major : 00
advdata(25:1) = $00
advdata(26:1) = $00

# Minor : 00 00
advdata(27:1) = $00
advdata(28:1) = $00

# Measured TX power : -58
advdata(29:1) = $c6

# Set advertisement data
call gap_set_adv_data(0, 30, advdata(0:30))

#set to advertising mode - with user data
call gap_set_mode(4, gap_undirected_connectable)
end

# Disconnection event listener
event connection_disconnected(handle, result)
call gap_set_adv_parameters(20, 100, 7)
#set to advertising mode - with user data
call gap_set_mode(4, gap_undirected_connectable)
end
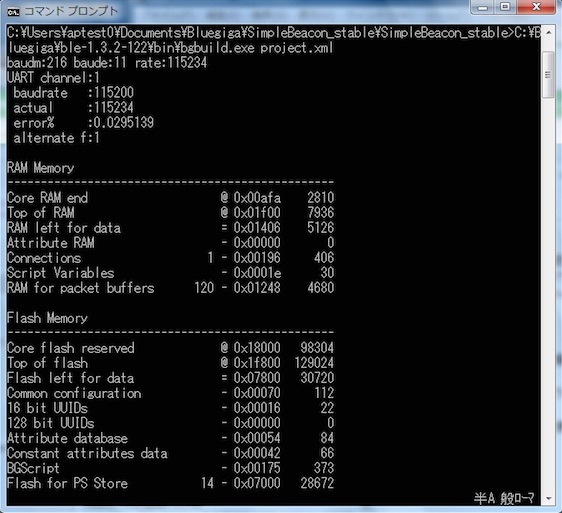
BGBuildを使用してコンパイルを実行します。bgbuild.exeの後に先ほど作成したproject fileを指定します。
CC-DEBUGGERをPCにUSBケーブルで接続し、BLE112モジュールにファームウェアを書き込みます。
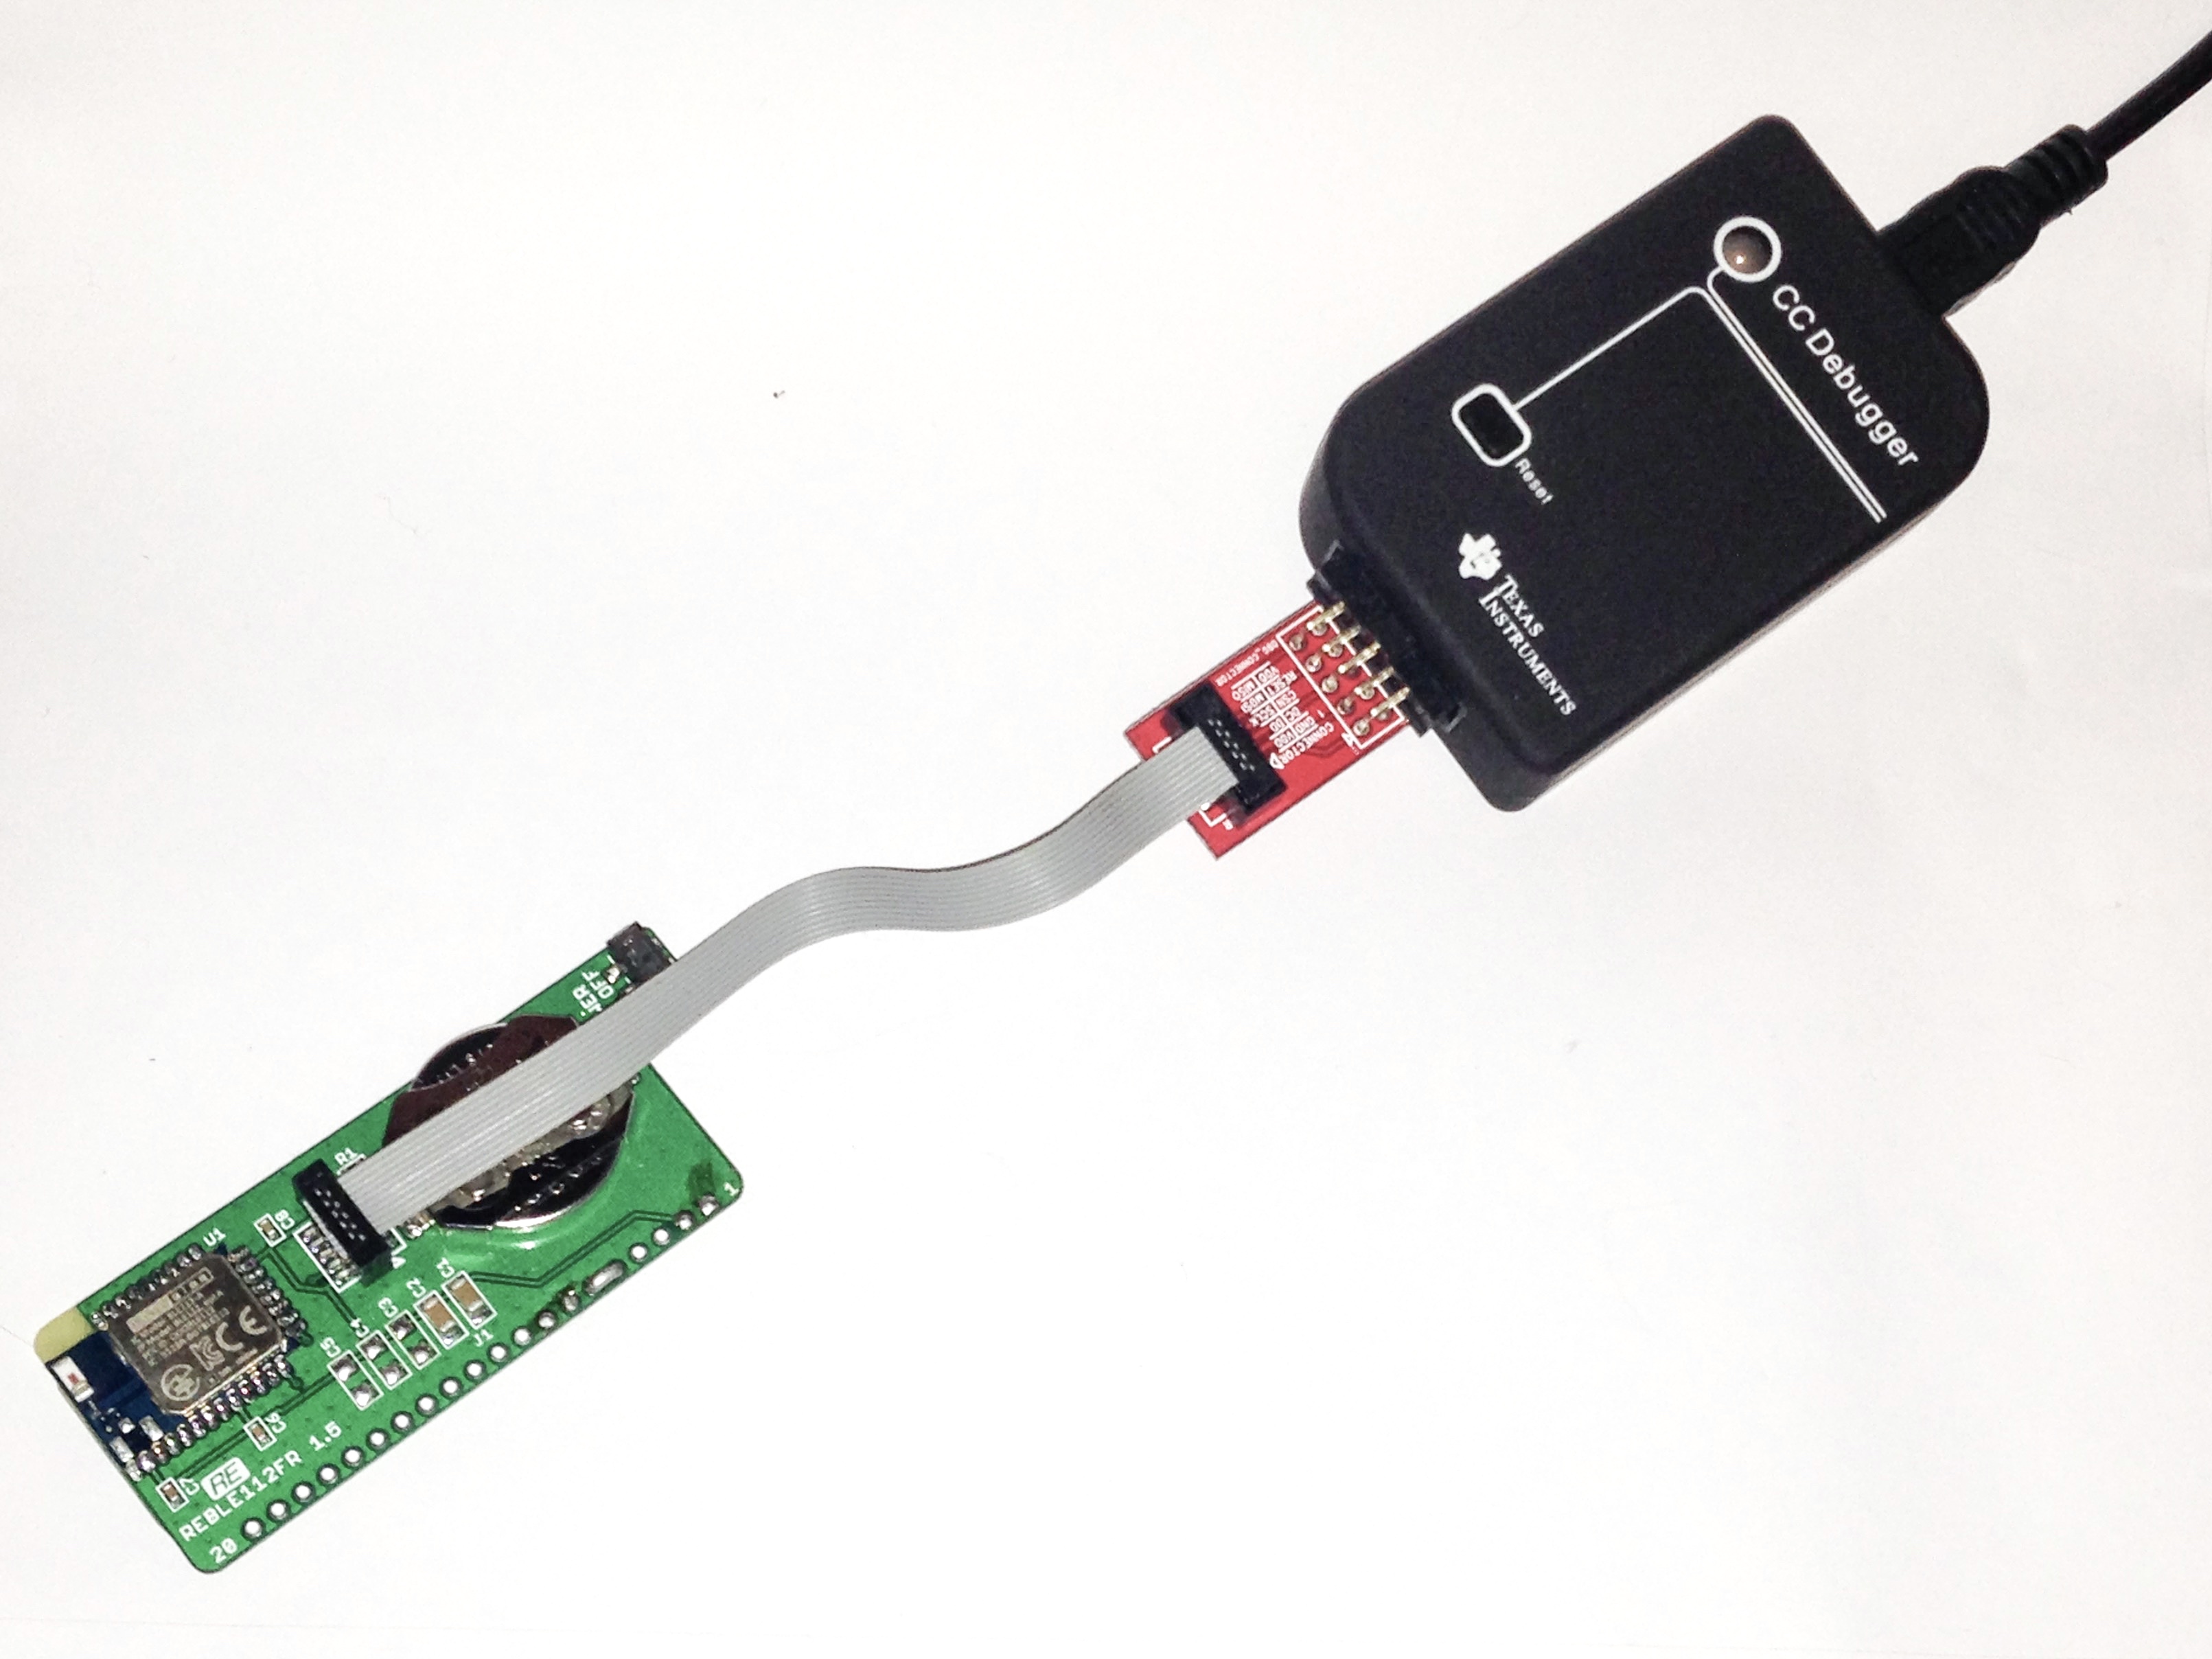
BLE SW Update Toolでファームウェアを書き込みます。
これでiBeaconとして動作させることができます。